Easy and Proper Way to Apply Name Labels
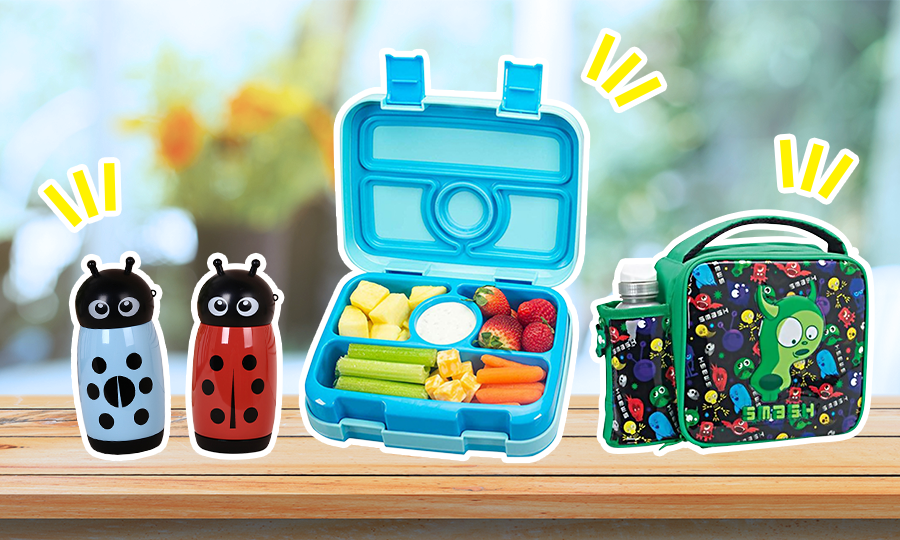
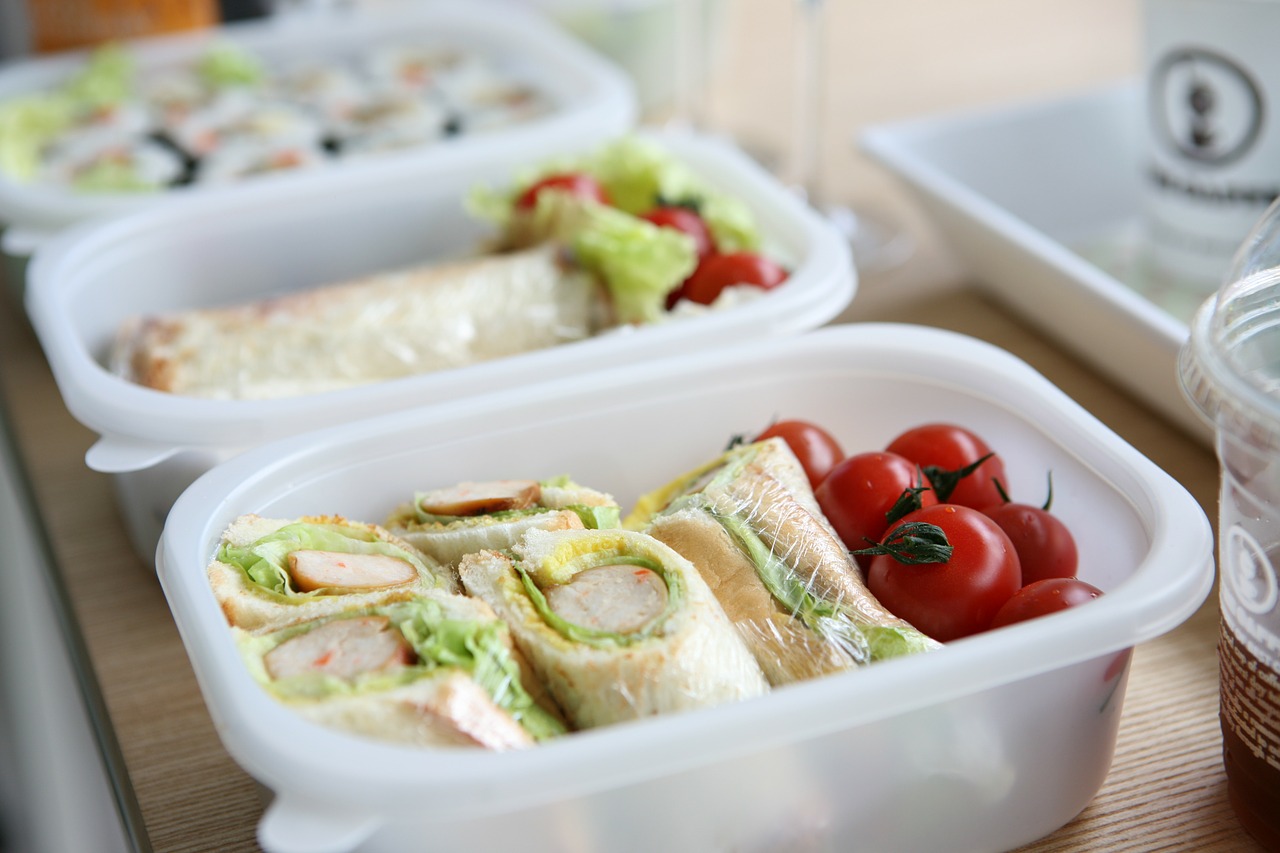
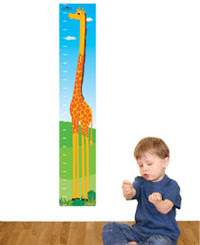
Iron-on and sticky name labels can be a godsend for parents. They help identify whether your child has brought home the right school clothes or not. They are even a great idea to use for labelling your lunch box in the office fridge.
So what are sticky and iron-on name labels?
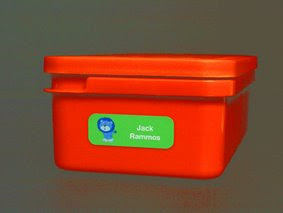
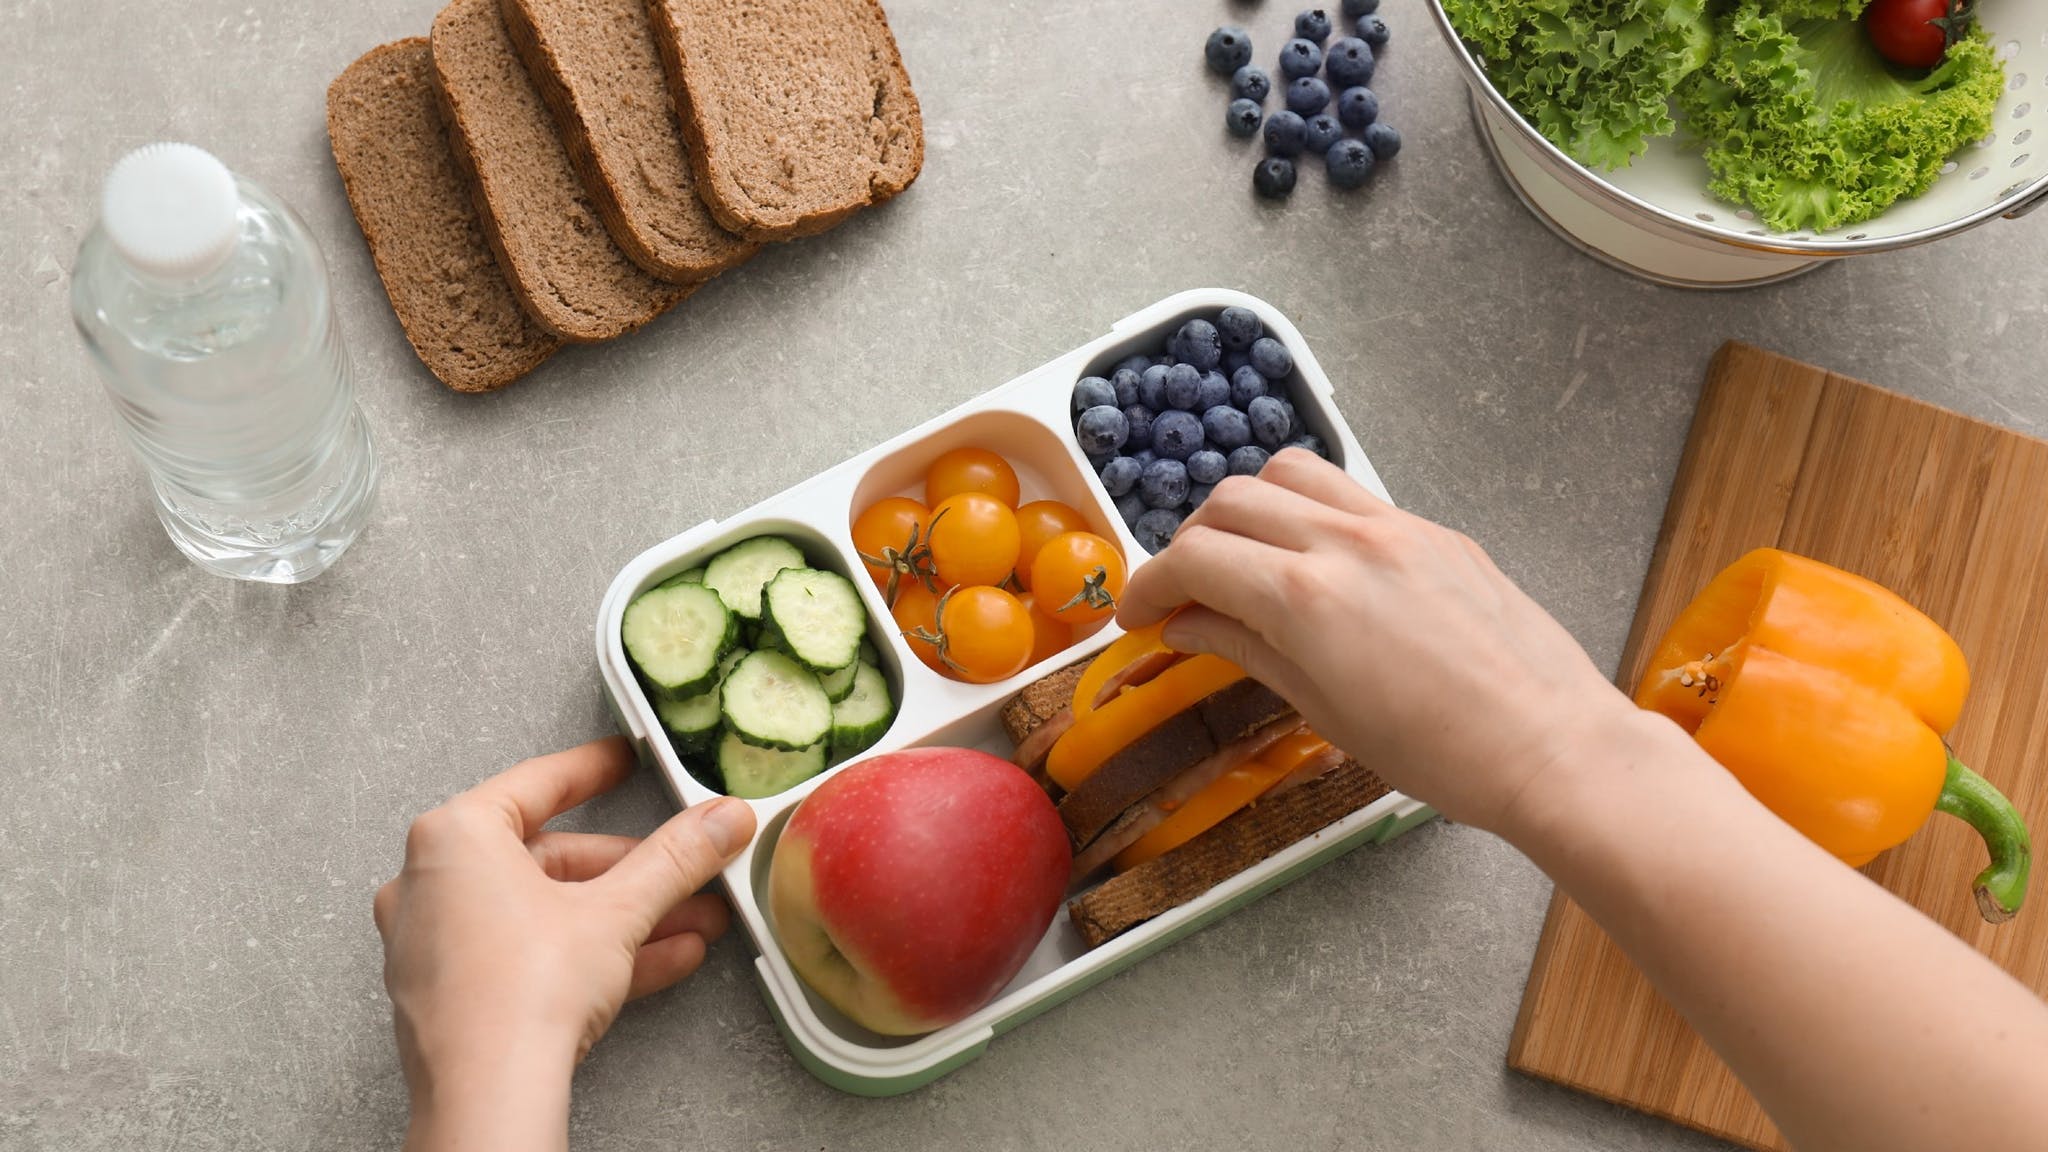
Name labels are often used for labelling items you may mix up easily with other people’s items. Think putting your lunchbox in the fridge at work or a file folder that looks the same as your workmates’. Whether at the office or at school, sticky and iron-on name labels are a great way to keep track of your belongings. After all, how many kids own the same lunch box or pencil case, right?
First of all, let’s take a look at sticky name labels.
Sticky Name Labels
Sticky name labels are very easy to apply. Here is a quick step-by-step guide on how to correctly apply your sticky name labels.
-
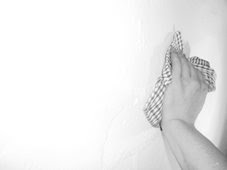
Ensure that you have a smooth, clean and dry surface for the name label to stick on. Sticky name labels may not adhere on textured, greasy or high-silicone based surfaces.
-
Apply pressure over the whole name label especially to the edges. Stickers can get easily snagged if you leave the edges sticking out.
-
Wait 2-3 days for the sticky adhesive to ‘cure’. This is to make sure that the adhesive takes its time to cling on to the material for a stronger bond.
With great durability, sticky name labels can be stuck on almost anything. From plastic lunchboxes to metallic drink bottles. These labels are dishwasher, freezer and microwave safe. So, you won’t end up ruining or removing them if used with these household appliances. But, if you want to prolong the quality of your personalised sticky name labels. Avoid washing the items in high temperatures. If you plan on cleaning your items in the dishwasher, place the items on the top shelf.
Remember, if you are applying sticky name labels on clothing, don’t stick them directly onto any kind of fabric. This will prevent making a sticky mess or ruining your clothing when the labels need to be removed. Instead, try applying sticky name labels on the washing tags of clothing or use Iron-on Name Labels instead.
Iron-on name labels
As opposed to sticky name labels, iron-on name labels are not as simple to apply. Below is an easy to follow, step-by-step guide on how to apply iron-on name labels to your clothing.
NOTE – the below method is not for every type of fabric!
-
Set your iron to the ‘cotton’ setting. Select DRY and the ‘no steam’ setting. Then wait for the iron to reach the set temperature.
-
Run the iron on the area of material where you want to place the label. Heating the fabric before you place your label makes the adhesive stick better on to the garment.
-
Place the label onto your garment.
-
Firmly press over the top of the label for 3-10 seconds whilst moving the iron back and forth. Repeat this step twice.
-
Allow the special adhesive to sit for 24 hours. This will allow the glue to harden and attach on to the garment.
There are many types of garment fabrics. So, if you're thinking of getting the most out of your iron-on labels (and your clothes), consider the type of fabric you’re affixing labels on first.
Here are a few special methods you must consider before applying personalised iron-on name labels.
Wool or Polyester – Slip a sheet of baking paper between the fabric and the iron, to avoid direct contact. This ensures that the fabric does not burn from the heat of the iron.
Silk – Often a very thin fabric, silk can burn easily if attempting to iron-on name labels. This requires a lot of patience and a very low-temperature setting on your iron to slowly apply the name label.
Linen – When ironing onto linen ensure a damp surface. Fill a spray bottle with clean water to dampen the fabric. High heat and plenty of steam is essential for ironing linen. Keep in mind that most iron-on labels don't need steam, So check garment tags first before ironing.
Nylon – Nylon is a very sensitive material that can be easily damaged in high temperatures. So this doesn’t allow for most iron-on labels to be applied.
Here are a few things to keep in mind when using Personalised iron-on name labels.
-
Ensure you have ironed on your name labels correctly the first time. They are designed to bond to most fabrics with their special glue. If you follow the instructions above, there should be no detached or lost labels.
-
Most iron-on labels are designed to take the heat of dryers and hot water in washing machines. But, always try and avoid putting your machines on their highest heat setting to prevent possible damage.
-
Most iron-on name labels are also designed to withstand strong washing machine spin cycles. So never worry about any flying off in the wash.
-
You don’t have to worry about overstretched clothing as most personalised iron-on name labels are designed to handle this.
So, let’s cap things off.
Remember that sticky name labels stick better on smooth and clean surfaces. As for the proper way to apply iron-on name labels, make sure you carefully read the individual iron-on instructions above. Always remember to set your iron is on the correct setting and remember that iron-on name labels need heat to activate their special glue. Take note of some clothing fabrics that will burn under excess heat.
With enough care, your name labels will stay on for years!